Today I wanted to do a notd (nails of the day), because I feel like I don't do any nail posts on my blog!...
Also, I really like my nails today!


*3 nail polishes of your choice for the ombre.
*1 nail polish that will be the main colour, (in my case white).
*A sponge.
* A q-tip to clean up around the edges with.
*A school/ paper glue that doesn't contain loads of chemicals.
*Tape.
*A pair of scissors.

Also avoid getting glue on the nail.
(Don't do this if you have any cuts, etc around your nail, you don't want to get any glue in them!).
When the glue has dried, apply base coat to protect the nail.
 2. Apply three different shades of nail polish on to a sponge, as seen on the picture.
I used a darker shade at the top, and gradually changing to a light pink.
To do this, just put three strokes of nail polish without mixing them together.
I applied a generous amount to the sponge.
(For info about the nail polishes I used, also where you can buy them, the details will be at the end of this post).


I used my favourite top coat EVER!
(Details at the end of this post :)

Quite a satisfying feeling pulling the glue off actually:)

6. Use a pair of scissors, and cut small stripes of tape of, or use nail tape if you want.
Put the two stripes on to the nail with the ombre effect, in any way you want to. (I put them in a V shape).


 10. Clean the edges up using a q-tip.
And that is everything!
Of course you can use different shades, and have the ombre effect on more then one nail. Go on and experiment with this!
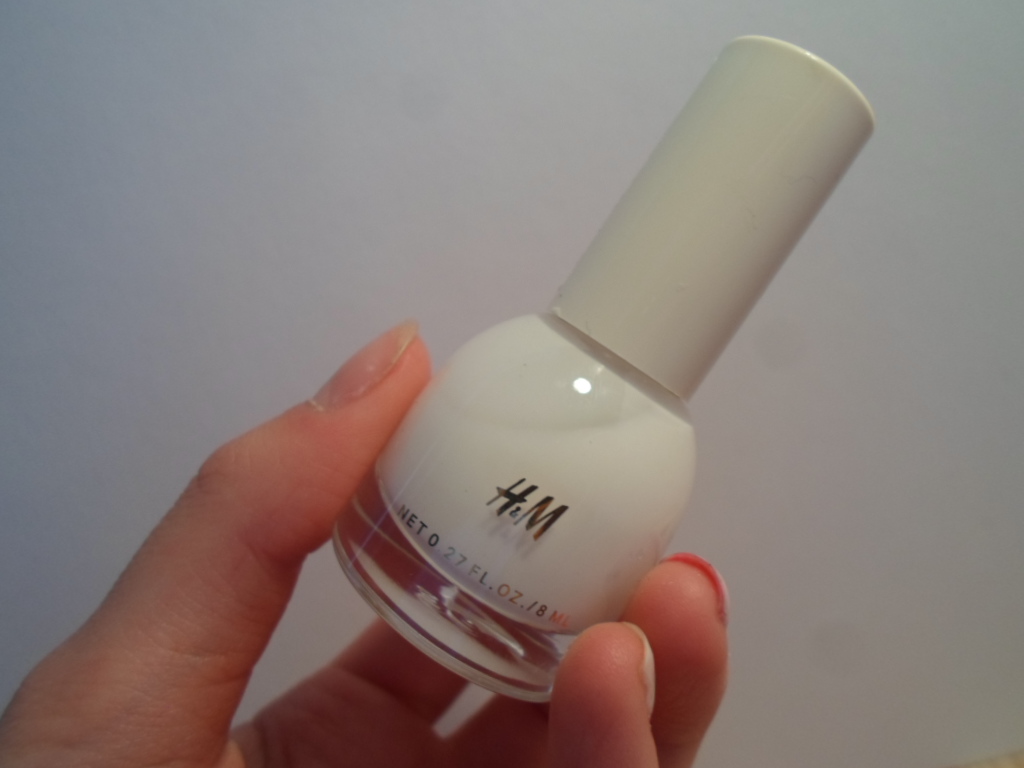
What nailpolishes I used:
*H&M's nail polishes in the shade
Purple aura (purple): Can't find it:(
Ice cold milk (white): www.hm.com
Random metallic pink (no longer available to buy), but it is from this company, and they sell other nail polishes now: www.lindex.com/se/beauty
Basic pink shade: www.depend.se
Seche Vite Top Coat: seche.com
(Not sponsored).
No comments:
Post a Comment